Replacing or installing a kitchen sink can feel intimidating the first time you crawl under the cabinet and see all those pipes. The good news is that residential kitchen sink plumbing is more straightforward than it looks. Once you understand how the supply lines, drain, and trap work together, you can handle most basic installations on a Saturday afternoon. This beginner's guide walks you through the process, the tools you'll need, and the moments when it's smart to call a licensed plumbing professional instead.
Understanding the Parts of a Kitchen Sink Plumbing System
Before you touch a wrench, it helps to know what you're looking at. A typical kitchen sink has three plumbing systems running through it: hot water supply, cold water supply, and drainage. Each one connects to the sink through its own set of fittings, and each one needs to be installed correctly to avoid leaks down the road.
- Shut-off valves: The small valves under the sink that control hot and cold water to the faucet.
- Supply lines: Flexible braided hoses that run from the shut-off valves to the faucet tailpieces.
- Faucet tailpieces: The threaded pipes under the faucet that the supply lines connect to.
- Sink strainer: The metal basket that fits into the drain hole and catches food debris.
- P-trap: The curved pipe under the sink that holds water to block sewer gas from rising into your home.
- Drain tailpiece and arm: The vertical and horizontal pipes that carry waste water from the strainer to the wall drain.
Tools and Materials You'll Need
A successful kitchen sink install starts with the right gear on hand. Running back to the hardware store mid-project usually means a leaky joint or a wet cabinet floor, so gather everything before you turn off the water.
- Adjustable wrench and channel-lock pliers
- Basin wrench (for tight spots behind the faucet)
- Plumber's putty or silicone sealant
- Teflon tape (PTFE thread seal tape)
- Bucket, towels, and a flashlight or headlamp
- New supply lines, P-trap kit, and drain assembly
- Hacksaw or PVC cutter, in case the drain pipe needs trimming
Most modern P-trap kits use PVC slip joints that hand-tighten, which is a huge help for beginners. Metal traps look nicer but require more care to seal properly.
Step-by-Step: How to Plumb a Kitchen Sink
Step 1: Shut Off the Water Supply
Turn the hot and cold shut-off valves under the sink clockwise until they stop. Open the faucet to release any pressure left in the lines. If your shut-off valves are old, stuck, or leaking when you turn them, replace them now while everything is accessible. A failing shut-off is a slow disaster waiting to happen, and it's one of the most common causes of urgent after-hours service calls.
Step 2: Disconnect the Old Plumbing (If Replacing)
Place a bucket under the P-trap to catch standing water. Loosen the slip nuts on each side of the trap by hand or with channel-lock pliers, then remove it. Disconnect the supply lines from the faucet tailpieces, and unscrew the mounting hardware holding the old sink in place. Lift the sink out carefully and clean off any old putty or caulk from the countertop.
Step 3: Install the New Sink Strainer
Roll a rope of plumber's putty about the thickness of a pencil and press it around the underside lip of the strainer. Drop the strainer into the drain hole from above. From below, slip on the rubber gasket and friction washer, then thread on the locknut and tighten. Wipe away the putty that squeezes out around the top.
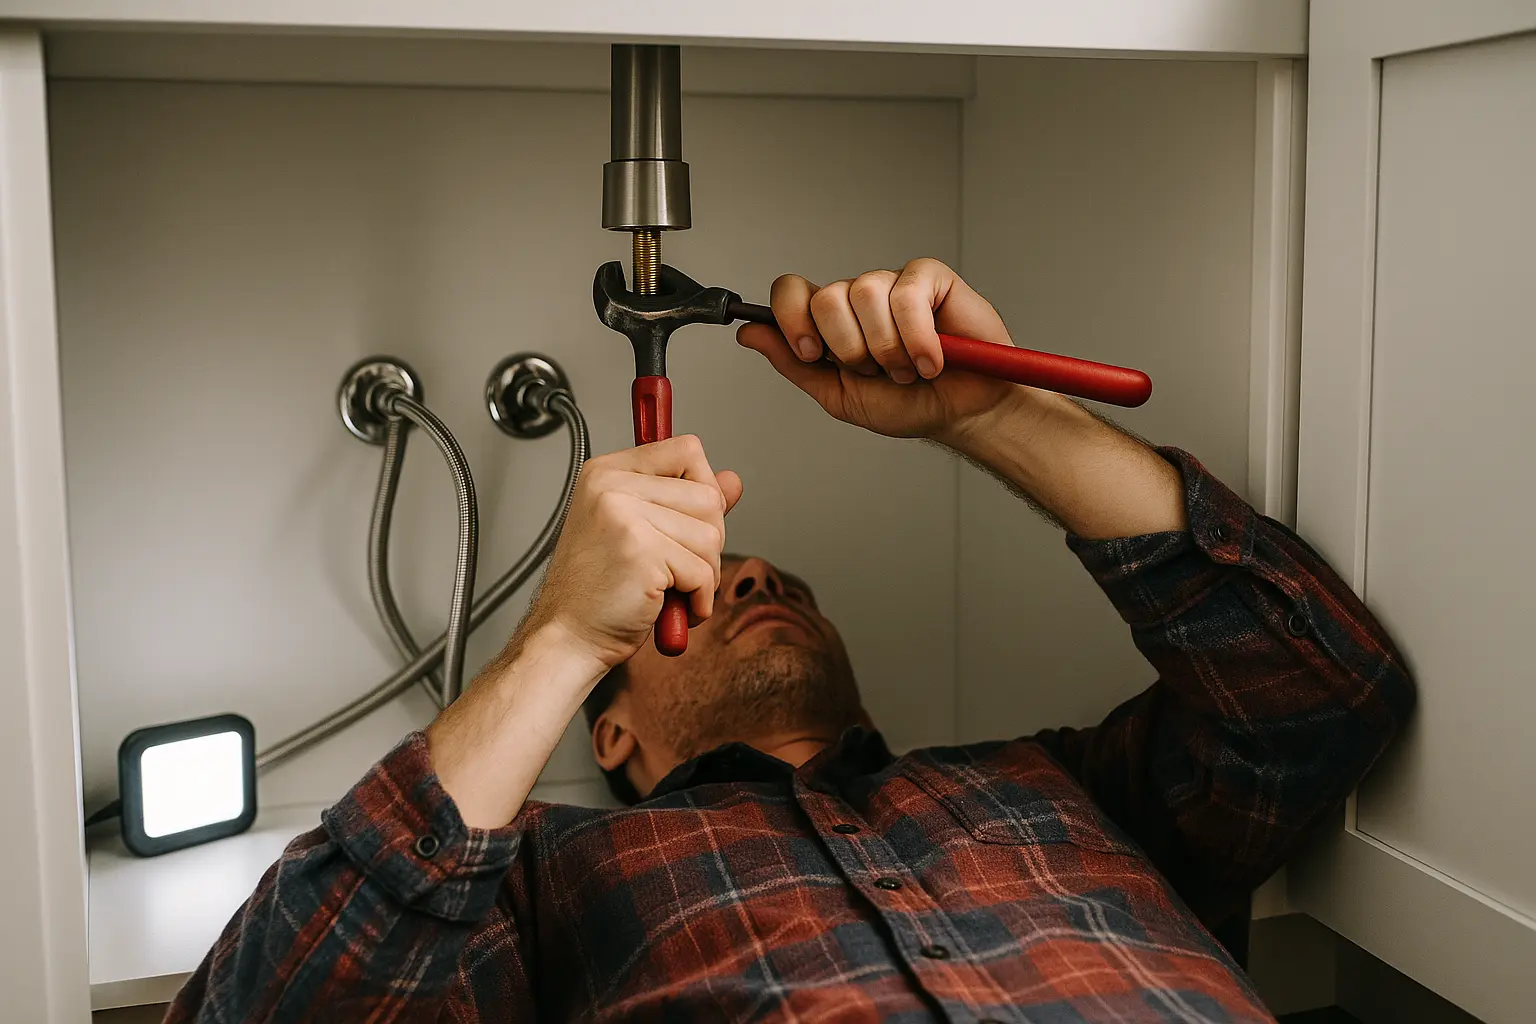
Step 4: Mount the Faucet
It is much easier to attach the faucet before the sink goes into the countertop. Feed the faucet tailpieces through the mounting holes, slide on the rubber gasket and mounting plate from below, and tighten the mounting nuts. Attach the supply lines to the tailpieces using a basin wrench. Snug, but do not crank, because plastic threads strip easily.
Step 5: Set the Sink in Place
For a drop-in sink, run a bead of silicone caulk around the underside of the rim and lower it into the countertop opening. For an undermount sink, you will typically need clips and adhesive rated for the countertop material. Wipe up excess silicone before it cures.
Step 6: Connect the Drain Assembly and P-Trap
Attach the drain tailpiece to the bottom of the strainer using the slip nut and washer that came in the kit. Connect the P-trap to the tailpiece, then to the drain arm coming out of the wall. The trap should sit level, with the curved section holding water and the outlet sloping slightly down toward the wall drain. Hand-tighten all slip nuts, then give them another quarter turn with pliers. If you have a garbage disposal or dishwasher discharge, follow the manufacturer's diagram for the tee fittings.
Step 7: Reconnect the Water and Test for Leaks
Connect the supply lines to the shut-off valves and tighten with a wrench. Open the valves slowly and check every joint with a dry paper towel. Run the faucet on hot and cold, then fill the basin and release the drain to put pressure on the trap. Even a slow drip will show up within a minute or two. Tighten any joint that weeps, and replace any washer that won't seat properly.
Common Mistakes Beginners Make
Most kitchen sink leaks trace back to a few predictable errors. Knowing them in advance saves you from a soaked cabinet floor.
- Overtightening slip nuts. PVC threads strip, washers deform, and the joint leaks worse than before. Hand-tight plus a quarter turn is the rule.
- Skipping the dry fit. Always assemble the trap and drain without sealant first to confirm the pieces line up before committing.
- Using the wrong sealant. Plumber's putty seals the strainer to the sink. Teflon tape seals threaded metal joints. Silicone is for the countertop. Mixing them up causes leaks.
- Forgetting the trap's water seal. If the P-trap is installed upside down or replaced with a straight pipe, sewer gas will come up into the kitchen. The curve is not decorative.
When to Call a Professional Plumber
Plenty of kitchen sink jobs are within reach for a careful homeowner, but some situations are worth handing off. If you find corroded galvanized pipes behind the wall, a drain line that backs up no matter what you do, or a vent stack issue causing slow gurgles, the project has outgrown a beginner's tool kit. Recurring clogs deeper in the line often need professional drain clearing equipment, because hardware store snakes can't reach the buildup. Older homes may also have non-standard fittings that don't match modern parts, and forcing the wrong adapter is how small leaks become flooded basements.
Anything involving moving the drain location, adding a dishwasher branch, or working with copper or galvanized supply lines really should go to a licensed plumber. The cost of doing it right the first time is almost always less than the cost of fixing water damage later. Homeowners in the area often turn to our team for reliable local service when a job moves past basic DIY territory.
Final Thoughts
Plumbing a kitchen sink is one of those home projects that rewards patience over speed. Work through each step methodically, dry-fit before you seal anything, and run a thorough leak test before you call it done. With basic tools and a careful approach, most homeowners can complete the job in an afternoon.
That said, if you run into corroded pipes, recurring drain issues, or anything that feels beyond a beginner's project, professional help is always the smarter call. FKRIV Plumbing & Heating Inc. serves homeowners across Yardley, Richboro, Willow Grove, and the surrounding Bucks County and Montgomery County communities with experienced, dependable plumbing service. Whether you need a quick consultation or a full installation, we're here to help you get the job done right.
Call us at (215) 874-0592 or visit to schedule service.