Replacing a bathroom sink drain looks simple until you are crouched under the vanity with water dripping onto your wrist. The job is doable for most homeowners, but it rewards patience, the right parts, and doing things in the right order. This guide walks you through the install from start to finish, with the practical details that separate a clean job from a slow leak six weeks later.
What You Will Need
Gather everything before you turn off the water. You will need a new pop-up drain kit, a P-trap kit with tailpiece, plumber’s putty (or silicone), PTFE thread tape, channel-lock pliers, an adjustable wrench, a bucket, towels, and a flashlight — cabinet space is always darker than you think.
If your existing pipes are old galvanized steel or show heavy corrosion at the joints, consider whether expert plumbing repair near you is the safer call. Old metal threads can snap under torque, and a small job can turn into a big one fast.
Step 1: Shut Off the Water and Clear the Workspace
Turn both shut-off valves under the sink clockwise until they stop. Open the faucet to release pressure, then disconnect the supply lines from the faucet, holding the valve steady so you do not twist it. Slide a bucket under the P-trap, loosen the slip nuts by hand if you can, tip the trap into the bucket, and set it aside.
Step 2: Remove the Old Drain Assembly
Find the locknut directly beneath the basin holding the drain flange in place. Loosen it counterclockwise with channel-lock pliers, push the drain body up through the bottom of the sink, and lift the flange out from above. Scrape off the old putty or silicone with a plastic scraper — metal will scratch the surface — and wipe the area clean before installing the new flange.
Step 3: Install the New Drain Flange and Pop-Up
Roll a rope of plumber’s putty about the thickness of a pencil and wrap it around the underside of the new flange. Press the flange into the drain opening from above. From below, slide on the rubber gasket, then the friction washer, then thread on the locknut. Hand-tighten first, then a firm — but not heroic — turn with pliers. Wipe away any putty that squeezes up inside the sink.
Most bathroom sinks use a pop-up stopper controlled by a lift rod behind the faucet. Drop the stopper into the drain so the small hole at its base faces the back of the sink. From below, insert the horizontal pivot rod into the side of the drain body so it catches that hole, and tighten the pivot nut hand-tight plus a quarter-turn.
Slide the flat strap (the "clevis") onto the lift rod and secure it with the screw, then hook the pivot rod into one of the holes in the clevis with the spring clip. Lift the rod a few times — the stopper should rise and fall smoothly. Adjust the clevis hole until the action feels right.
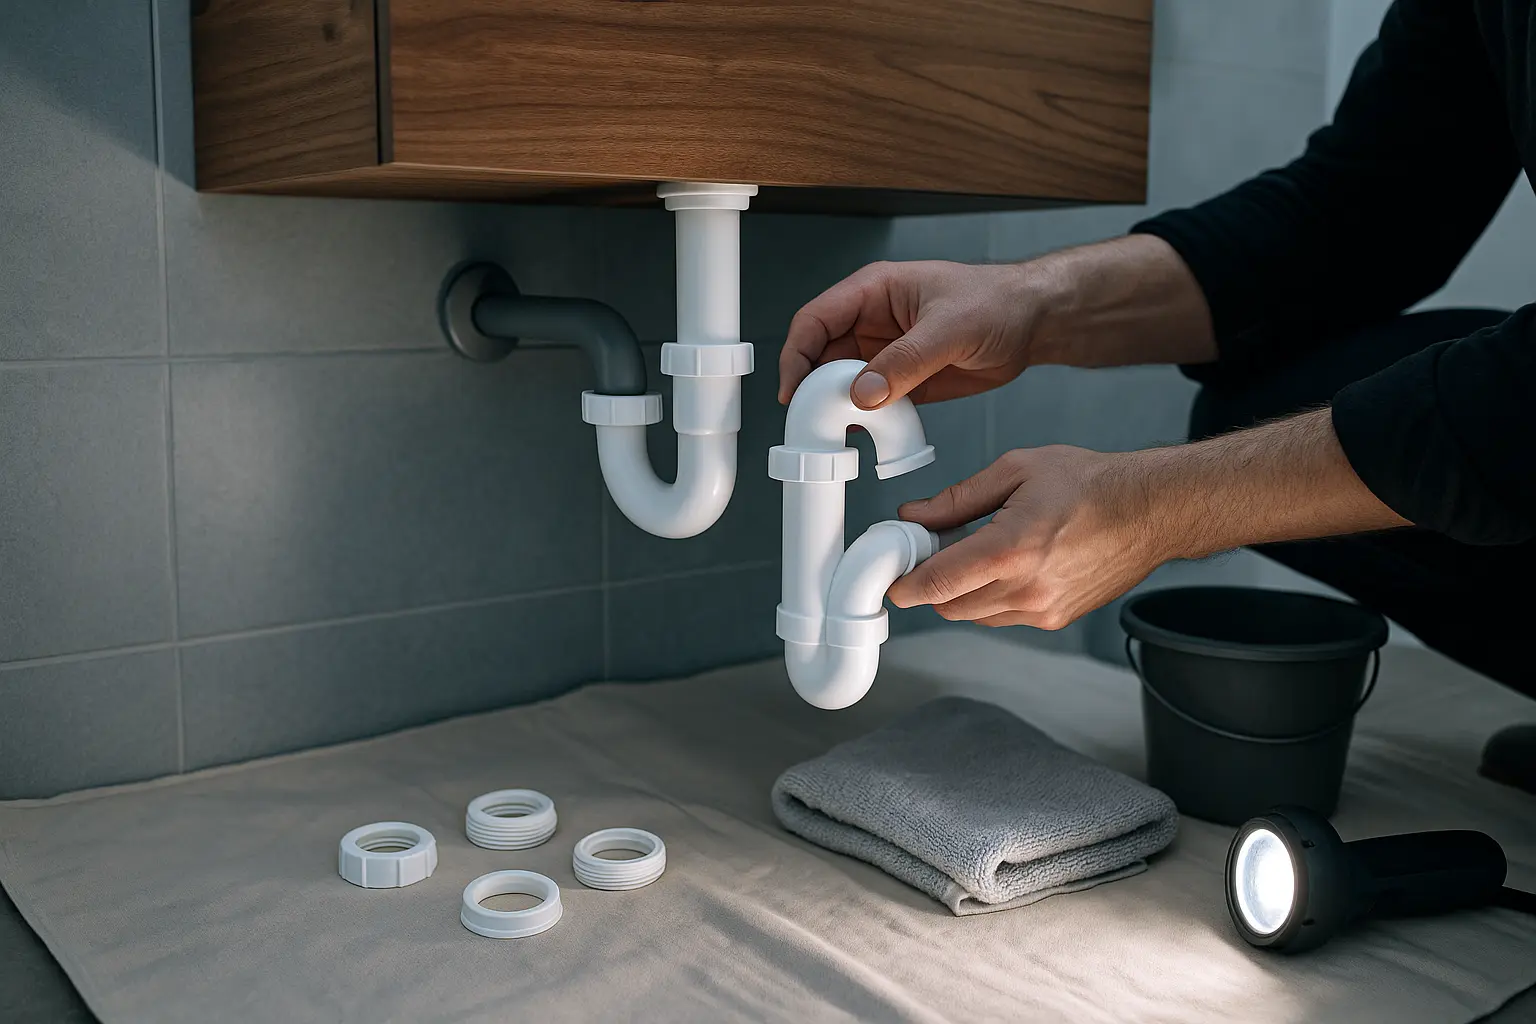
Step 4: Assemble the P-Trap
The P-trap is the curved pipe that holds a small amount of water as a barrier against sewer gases. Bathroom sinks use a 1-1/4 inch trap, smaller than the 1-1/2 inch trap on a kitchen sink — do not mix the parts up at the store.
Slide the tailpiece onto the bottom of the drain body and hand-tighten the slip nut. Attach the J-bend to the tailpiece, then connect the other end to the wall stub-out. Every joint gets a slip nut with a rubber or beveled washer inside. Dry-fit everything first — confirm the trap sits with a gentle downward slope toward the wall before committing to any cuts. If the tailpiece is too long, trim it with a hacksaw and deburr the cut edge. Hand-tighten each slip nut, then add about an eighth-turn with pliers — plastic threads strip easily.
Step 5: Reconnect Water and Test for Leaks
Reconnect the braided supply lines to the faucet tails — swap them for braided stainless steel if the rubber gaskets look flat. Hand-tighten, then add a quarter-turn with a wrench, and open the shut-off valves slowly.
Plug the sink, fill it with water, and watch underneath as you release the stopper. A full sink draining at once stresses the joints more than a slow trickle and reveals problems faster. Run your fingers around each connection — a slow drip is easier to feel than to see. If you find a leak, take the joint apart, check that the washer is seated with the bevel facing the threads, and reassemble. Nine times out of ten the fix is alignment, not torque. Persistent drips often point to a cracked fitting or worn stub-out, and at that point a trusted local plumber saves you a second weekend on the same job.
Common Mistakes to Avoid
Most DIY drain installs that come back to haunt people share the same handful of errors:
- Mixing up plumber’s putty and silicone. Putty goes under the flange; silicone is for caulking the sink rim to the countertop.
- Using PTFE tape on slip-joint connections. Tape belongs on threaded metal joints — slip nuts seal with washers.
- Cranking down on plastic nuts. Hand-tight plus a small nudge is the rule; cracked threads leak forever.
- Skipping the dry fit. Cutting a tailpiece before confirming the trap height means a return trip to the store.
If your home has older galvanized lines or recurring slow drains in multiple fixtures, the problem is usually further down the line than your sink. That is when professional drain cleaning makes more sense than another DIY attempt.
When to Call a Professional Plumber
A few situations turn a simple drain swap into something more involved:
- The wall stub-out is corroded, cracked, or sits at an awkward angle.
- You are installing a new vanity and need to move the drain rough-in.
- Multiple fixtures back up at once, suggesting a venting or main line issue.
- You smell sewer gas even after the trap is full of water.
Burst supply lines and overflowing drains do not wait for business hours. When something goes sideways late at night, around-the-clock emergency plumbing help is the right call — a small leak can do thousands of dollars in damage if it runs unchecked overnight.
Final Thoughts
Installing a bathroom sink drain builds real confidence. Once you have watched a sink full of water drain cleanly past every joint without a drop underneath, the same skills carry over to fixing a clogged trap or swapping a vanity faucet. That said, plumbing is one area where knowing your limits pays off. If you hit corroded threads, a damaged stub-out, or a recurring problem no amount of careful work seems to fix, calling a professional sooner usually costs less than a flooded cabinet floor.
FKRIV Plumbing & Heating Inc. helps homeowners across Levittown, Yardley, Willow Grove, Jamison, Horsham, Richboro, and Bristol with everything from quick drain swaps to full bathroom rough-ins. Give us a call at (215) 874-0592 — we are happy to handle the whole job or just take a look at a tricky leak.