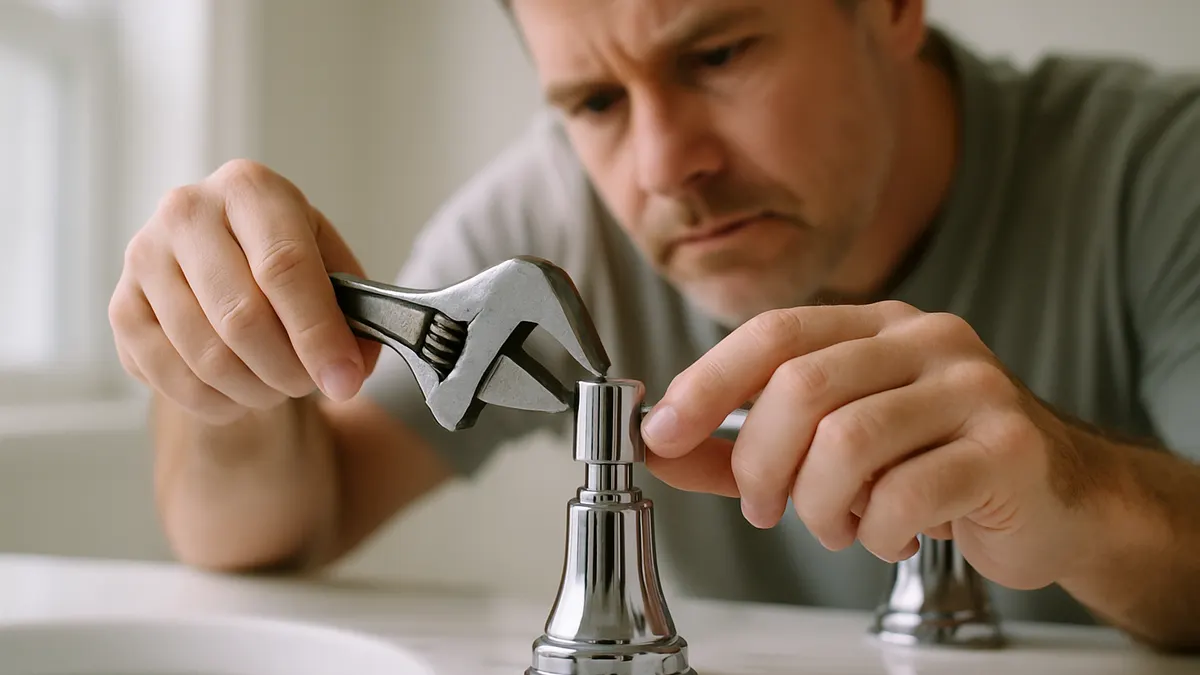
That steady drip from the kitchen or bathroom faucet is more than annoying. A leaking faucet you ignore can waste a surprising amount of water and drive up your bill. Most faucet leaks trace back to a worn internal part, and many can be fixed with a few basic tools. Here is how to fix a leaky faucet step by step, from finding the drip to putting the faucet back together.
What Causes a Faucet to Leak?
A dripping faucet usually comes down to a small internal part that has worn out. The exact cause depends on where the water is coming from and what type of faucet you have.
A worn or damaged washer is one of the most common causes, especially in older faucets with separate handles. A damaged O ring can let water seep around the handle base, and a worn faucet cartridge is a frequent cause in single handle faucets, since it controls flow and temperature.
Loose internal parts, mineral buildup, a damaged valve seat, and aging components can cause a leak too. Knowing which one applies to your faucet is the first step toward a lasting repair.
Identify Where the Faucet Is Leaking
Before taking anything apart, spend a minute watching where the water is coming from. This helps you avoid replacing the wrong part.
Water Dripping From the Spout
If water continues to drip from the spout when the faucet is turned off, the internal valve may not be sealing properly. Depending on the faucet type, the problem could be a worn washer, damaged cartridge, or faulty ceramic disc.
Water Leaking Around the Handle
Water around the handle often means an internal seal is worn or a component needs attention. A damaged O ring, worn cartridge, or loose part can allow water to escape around the handle.
Water Leaking From the Base
If water collects around the base of the faucet, the seals or O rings may be worn or damaged. Cleaning away mineral buildup and checking the seals can help determine the cause.
Water Under the Sink
Not every leak under the sink comes from the faucet itself. Check the supply lines, connections, and shutoff valves for signs of dripping or moisture. Finding the source first can prevent you from repairing the wrong part.
What You Need to Fix a Leaky Faucet
Most faucet repairs need only basic tools: an adjustable wrench, a screwdriver, an Allen key, pliers, plumber's grease, a clean towel, and a sink drain stopper, plus a replacement washer, O ring, or cartridge.
The right part depends on your faucet's brand, model, and type, so there is no single size that fits every faucet. Keep the old part with you when shopping and match it directly rather than guessing.
How to Fix a Leaky Faucet Step by Step
Step 1: Turn Off the Water Supply
Find the shutoff valves under the sink and turn them clockwise until closed. If there are no individual valves, shut off your home's main supply instead. Then turn the faucet on briefly to release remaining pressure. If you still cannot find the source of the leak, learning how hidden leaks are detected can help you understand where the water may be coming from.
Step 2: Cover the Drain
Place a stopper or folded towel over the drain before you start. Small screws and springs can easily slip out of your fingers and disappear down the drain.
Step 3: Remove the Faucet Handle
Most handles have a small decorative cap that pops or unscrews off, revealing a screw underneath. Remove it and gently lift the handle free. Designs vary, so take your time.
Step 4: Identify the Faucet Type
A compression faucet has separate handles that turn several rotations. A cartridge faucet often has a single lever or smooth moving handles. A ball faucet has one handle over a rounded mechanism. A ceramic disc faucet has a single lever on a wider cylindrical base.
Step 5: Inspect the Washer, O Ring, or Cartridge
Look for cracks, flattening, corrosion, mineral deposits, or damaged seals. A cracked or flattened washer or O ring should be replaced. A cartridge that feels loose or worn is best swapped out entirely with a matching part.
Step 6: Replace the Damaged Part
Match the replacement carefully to the old part's size and shape, and wipe away nearby mineral buildup. Apply a small amount of plumber's grease to new rubber seals, install the new part in the same orientation as the original, then reassemble by hand, tightening snugly without forcing it.
Step 7: Turn the Water Back On and Test
Slowly reopen the shutoff valves, turn the faucet on, and check the spout, the handle area, and underneath the sink for dripping. If it still leaks, the replacement part may not be a correct match, or the valve seat may need attention.
Common Mistakes to Avoid When Repairing a Leaky Faucet
A few small missteps can turn a simple job into a frustrating one: forgetting to shut off the water first, skipping the leak location step, buying a mismatched part, losing screws because the drain was not covered, overtightening components, and forcing a stuck part instead of working it loose gently.
When Should You Call a Professional Plumber?
Not every dripping faucet is a good do it yourself project. Call a professional if the leak continues after replacing the suspected part, if the faucet body is cracked, or if the valve seat is badly damaged.
Leaking connections under the sink, corrosion that makes parts impossible to remove, or water leaking inside a cabinet or wall are signs the issue may be bigger than a simple part swap. If you would rather not take that risk, our team offers reliable plumbing repair so the job gets done right.
How to Prevent Future Faucet Leaks
A little regular care keeps faucets drip free. Avoid overtightening handles, address small leaks as soon as you notice them, wipe away mineral buildup around handles and spouts now and then, and check the connections under your sink every so often.
Staying on top of general plumbing maintenance and replacing worn components before they fail helps you avoid emergency repairs down the road.
If your faucet is still dripping after trying these steps, our team offers dependable professional plumbing services to get it fixed right the first time. We proudly serve homeowners throughout Bensalem,Horsham , Doylestown, Warminster, and Jamison, so help is always close by.
Frequently Asked Questions About Leaky Faucets
Can I fix a leaky faucet myself?
Many basic leaks can be repaired with simple hand tools, especially when caused by a worn washer or O ring.
Why is my faucet still dripping after I replaced the washer?
The new washer may not match the original size, the valve seat may be damaged, or a cartridge or another seal may also need attention.
How do I know what part I need for my faucet?
Identify your faucet type and brand if you can, and bring the old part with you when shopping for the correct size.
Why is my faucet leaking around the handle?
This is usually a worn O ring, a failing cartridge, or a loose internal component.
Should I replace or repair a leaking faucet?
If the faucet is otherwise in good shape, replacing a single worn part is usually enough. An older faucet with heavy corrosion or repeated leaks may be better off replaced entirely.
When should I call a plumber for a leaking faucet?
Call a plumber if the leak continues after your repair, if parts are cracked or corroded, if water is leaking inside a cabinet or wall, or if you would rather have an expert handle it.